AI Tools for Improving Image Resolution: Choose an AI Image Upscaler
Compare AI image upscalers for photos, product images, and creative work. Learn what to test, when enhancement changes details, and how to choose.
Free newsletter
Get The Daily Match
AI news in plain English, plus one thing to try today. Free, Monday and Friday.
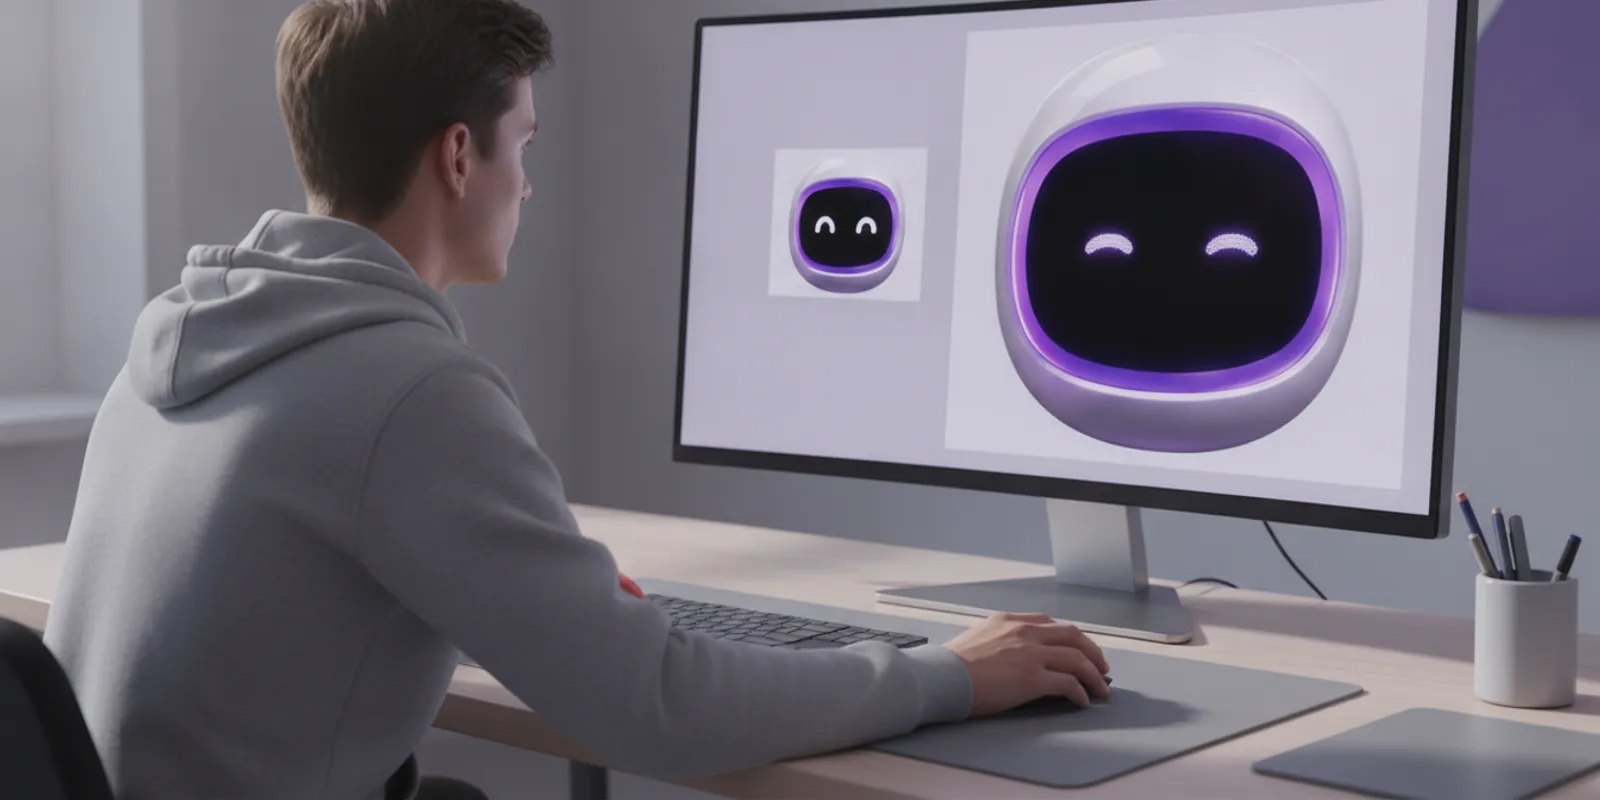
An AI image upscaler can enlarge a small image and estimate details to make the result look clearer at a larger size. It cannot recover the original scene perfectly: the output may smooth, sharpen, or invent texture. The best choice depends on what the image is for, how much control you need, and whether every detail must stay faithful.
Talk through your image workflow
Which AI image upscaler fits each situation?
Start with the image and the risk of changing it, not a promise of maximum enlargement. This quick matrix puts the named options and their likely use cases up front. Confirm current capabilities, platform support, and licensing with each provider before adopting a tool.
| Tool or approach | Best situation to test | What to pay attention to |
|---|---|---|
| Topaz Gigapixel AI | You want a dedicated application focused on enlarging images, such as a set of photographs. | Check whether faces, fine patterns, and edges remain believable at your intended output size. |
| Adobe Photoshop Super Resolution | You already work with photographs in Adobe's editing workflow and want enlargement alongside other edits. | Compare the enlarged file with the source and check how it fits your existing export steps. |
| Upscayl | You want to explore an open-source desktop upscaling option before deciding on a paid workflow. | Test setup, model choices, output consistency, and whether the result suits your actual source material. |
| Magnific | You are making a creative image where a more interpretive, generative enhancement may be acceptable. | Inspect closely for added or altered details; do not assume the output is a faithful restoration. |
This is a situation matrix, not a universal ranking. If accuracy matters more than visual polish, favor a conservative result and keep the original. If the image is creative material, you may accept more interpretation, but inspect the output before using it. myAImatch has a Magnific profile to explore that option, and its AI Vault gives you a place to browse other listed tools.
What does an AI image upscaler actually do?
Traditional resizing changes the pixel dimensions of an image by calculating values between existing pixels. AI upscaling also uses learned patterns to estimate what enlarged details might look like. That can make edges or textures appear more defined than in a simple resize, but it is an estimate, not a scan of information that was never captured.
That distinction matters for small text, faces, product markings, and documentary images. A sharpened label can look plausible while being wrong. A face may become smoother or subtly different. A brick wall, hair, foliage, and fabric can gain invented texture. Treat the larger image as an edited result, not as proof of what the original contained.
For an overview of the professional field concerned with imaging science and image quality, see the Society for Imaging Science and Technology. The practical takeaway is simple: define what quality means for your use before judging a tool by apparent sharpness alone.
What benchmark should you use to compare tools?
Use the same source files, enlargement target, and viewing conditions for every option. A tool that looks good on one portrait may handle a logo or a busy product scene differently. Build a small test set from the kinds of images you actually use, and record what worked rather than relying on one attractive demonstration.
- Faithfulness: Are important objects and features preserved, or has the tool changed them?
- Edge quality: Do lines and boundaries look clean without halos, ringing, or jagged contours?
- Texture: Does fine detail look natural, or does it resemble artificial grain, wax, or repeating patterns?
- Readability: Are text and numbers still accurate? If the source is too small to read, do not rely on an AI-made version as evidence.
- Workflow: Can you process the files, formats, and volume you need without adding avoidable steps?
- Review effort: How long does it take to check and correct each output?
- Data handling: Does the tool process images locally or upload them? Review its current privacy and retention information before sharing sensitive material.
Do not judge only at 100% zoom. Inspect at the size where the image will be used, then zoom in to find artifacts. Make a side-by-side comparison against both the original and a conventional resize. That separates useful enhancement from a result that merely looks sharper because it has stronger contrast.
Which tool fits photos, product images, and creative work?
Photographs and old family images
For ordinary photographs, a dedicated upscaler such as Topaz Gigapixel AI or an enlargement workflow inside Photoshop may be a reasonable first test. Compare faces, hair, and small background details. A nostalgic image may contain softness or film grain that is part of its character; increasing sharpness is not always an improvement. Keep a separate copy of the original and avoid treating generated facial detail as historically accurate.
Product images and catalog assets
For commerce images, consistency and truthful representation matter more than dramatic detail. Check the product outline, texture, color, and any labels against the source. If a small image becomes the basis for a larger listing image, compare it with a genuine high-resolution product photo when available. AI enhancement should not make a surface, feature, or accessory appear that the product does not have. For adjacent product-photo editing needs, review the Claid profile as a separate tool option; do not assume it replaces a dedicated enlargement test.
Illustrations, textures, and creative images
For artwork, concept images, or decorative backgrounds, you may have more room to accept interpretation. Magnific is one option to evaluate when a creative result can change detail. Look for new objects, altered patterns, and inconsistent texture. If the image is part of a series, test several examples to see whether the style remains consistent from one output to the next.
Logos, diagrams, and text-heavy images
These are often poor candidates for generative reconstruction. Thin lines, letterforms, and symbols can change in ways that are difficult to notice at a glance. The best fix may be to locate a vector original or recreate the graphic in its source application. If you do test an upscaler, compare every word and line with the source before publishing or printing it.
How can you run a useful upscaler test?
- Choose representative files. Include a portrait, a detailed image, and the most difficult example in your normal workload. Use files you are allowed to process.
- Set the destination first. Decide the final dimensions and where the image will appear. A web thumbnail and a large print do not need the same treatment.
- Make comparable outputs. Keep the source, enlargement target, and export format consistent. Include an ordinary resize as a baseline.
- Inspect both views. Review the image at its intended display size and at close range. Look for changed features, halos, repeated texture, and compression artifacts.
- Score the outcome. Note visual quality, time spent, ease of repeat use, and any cleanup needed. A tool that creates more review work may not be a practical improvement.
- Check rights and handling. Before processing client, personal, or confidential images, confirm the tool's current terms, permitted uses, and data practices.
Do not upload a sensitive image simply to try a feature. If you cannot verify how a service handles files, use a non-sensitive test image or choose a workflow whose data handling you understand. Keep originals and label enhanced versions so collaborators know which file has been altered.
What should you check before choosing?
First, confirm that the tool supports the file types and operating setup you need. Then check whether it provides enough control over the kind of enhancement being applied. A minimal workflow can be easier for occasional use; repeated work may call for batch handling, predictable settings, or a clear review process. Verify those details directly because plans and features can change.
Think about the complete job, not just the enlargement step. You might need to crop, remove a background, adjust color, or prepare a presentation after upscaling. myAImatch also lists Prezi for presentation creation, but that is a different part of the workflow rather than an image-resolution tool. Browse the Vault categories when you need to compare options for related tasks, and check the AI services overview if your team needs help connecting software into a wider process.
Pricing is only one consideration. Check whether a tool charges by subscription, license, or another model, and compare that cost with the time required to review and correct its output. Do not choose based on an advertised maximum enlargement factor alone. A larger file is not necessarily a better or more faithful image.
When should you take the assessment?
Named options give you a starting shortlist. After you have defined your image type, quality benchmark, and tolerance for generated detail, you can use the free MAI assessment to explore software matches based on your work context. It is a discovery path, not a substitute for testing outputs or verifying current product terms. You can also browse profiles directly in the Vault before or after the assessment.
Discuss your software selection needs
Frequently asked questions
Can an AI image upscaler restore details that are completely missing?
No. It estimates plausible details based on patterns, and the result may not match the original scene. For factual use, compare against a reliable source image and do not treat reconstructed detail as verified evidence.
Is an AI upscaled image always better than a normal resize?
No. AI enhancement can look more defined, but it can also introduce artifacts or alter features. Compare both methods at the intended display size and choose the one that fits the use.
Which option should I try first?
Start with the tool that fits your workflow: a dedicated upscaler for repeated enlargement, an existing photo-editing workflow for convenience, or a more interpretive option for creative work. Test the same representative files before deciding.
Can I use an upscaler for text or a logo?
You can test an image, but inspect every letter and line carefully. For an important logo or diagram, seek the original vector or editable file rather than trusting generated reconstruction.
The right AI image upscaler is the one that improves the image for its real destination without introducing changes you cannot accept. Test it on representative files, preserve the source, and review the result before it goes into use.
You might also like
Free newsletter
Get The Daily Match
AI news in plain English, plus one thing to try today. Free, Monday and Friday.